I’ve posted previously about homebrewing and have been brewing for almost three years now. Back in April, I took to destroying a perfectly good mini fridge to turn it into a kegerator.
As any homebrewer can tell you, bottling is a pain in the ass. The delabling (if you’re reusing bottles), the santization, and the bottle carbonization makes for a rather long and laborious process. Because I’d finally had it with bottling, I decided that kegging would be a wiser choice since:
- Less time would be spent on bottling
- Carbonization would be better controlled
- For most ales, production time would be cut by a week
Thankfully, my assumptions have proven to be true. So let’s walk through what it took to make the kegerator.
The Build
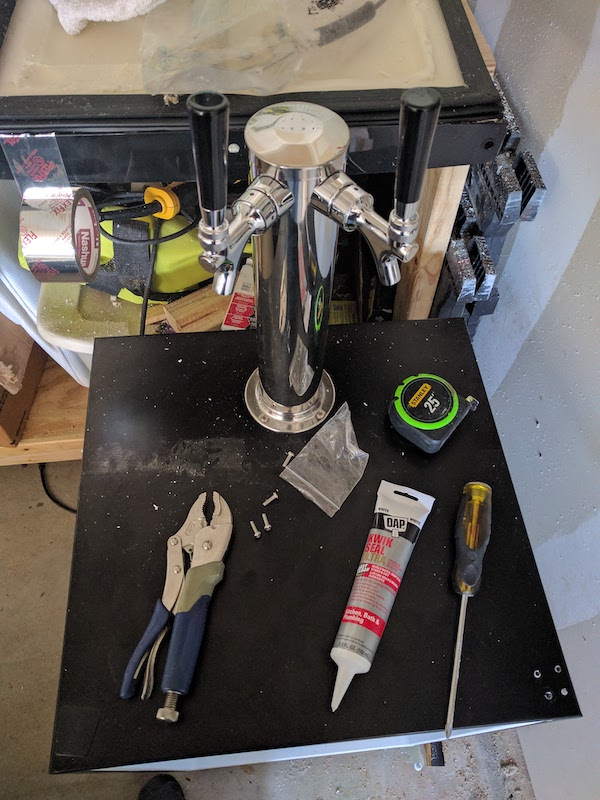
I started off with the following hardware:
- Whirlpool 4.3 cu ft mini fridge
- Chrome plated dual faucet tower
- Draft Brewer Flex Keg System
- Aluminum CO2 Tank - 5 lb
- Surface Mount Drip Tray
I won’t go through the whole process of assembling, since the post over at missionarybrewer (which my build was largely based on) covers the steps more than sufficiently. I will mention a few gotchas for the particular fridge I used:
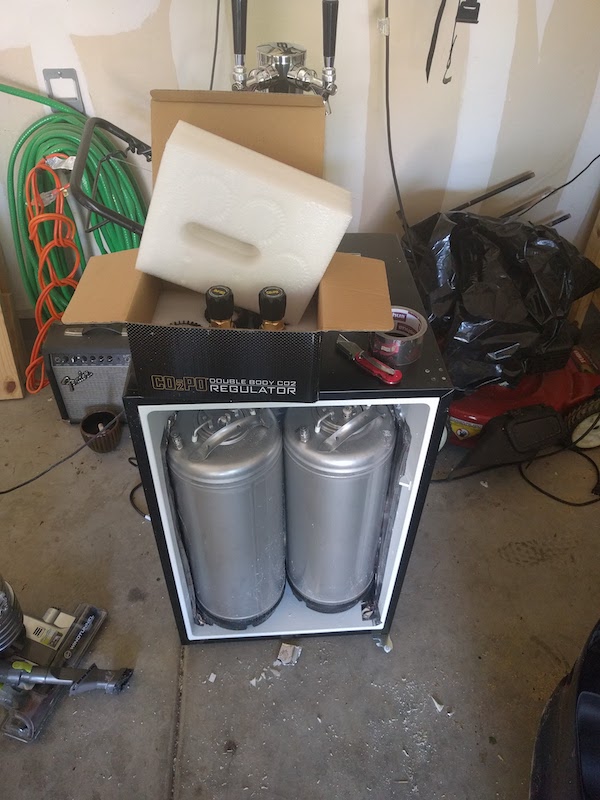
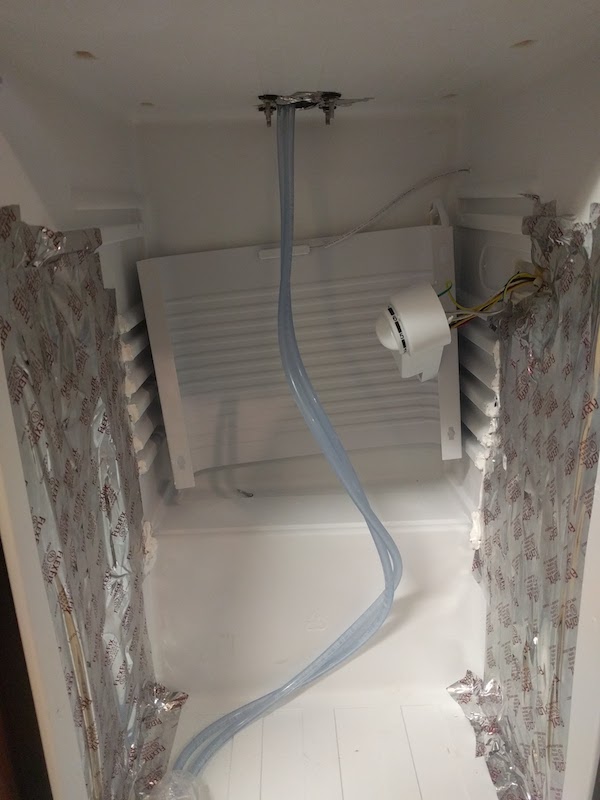
- There are coolant lines running over in the upper rear left corner. DON’T drill back there
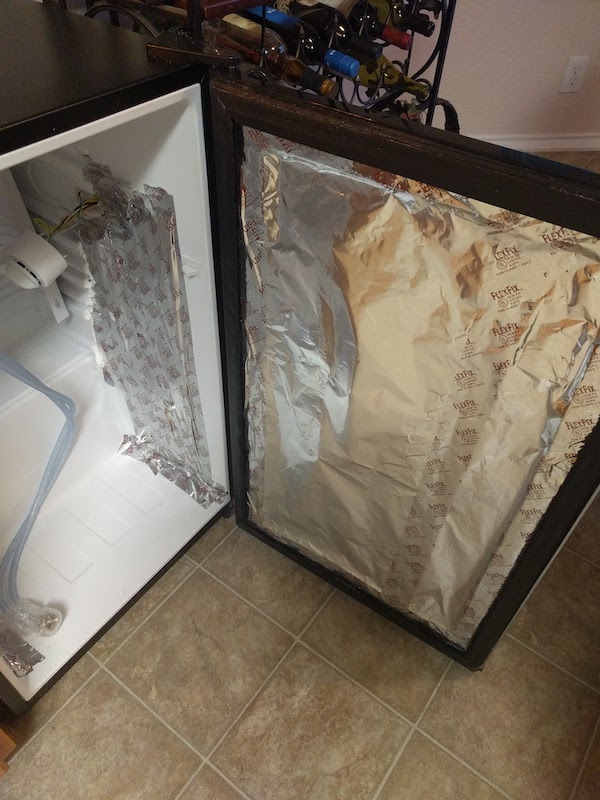
- The 4.3 cu ft size is just a hair too small for both kegs to fit comfortably. I ended up using a multitool to carve out the front of the door, as well as the molding for holding the shelves so that the kegs would fit.
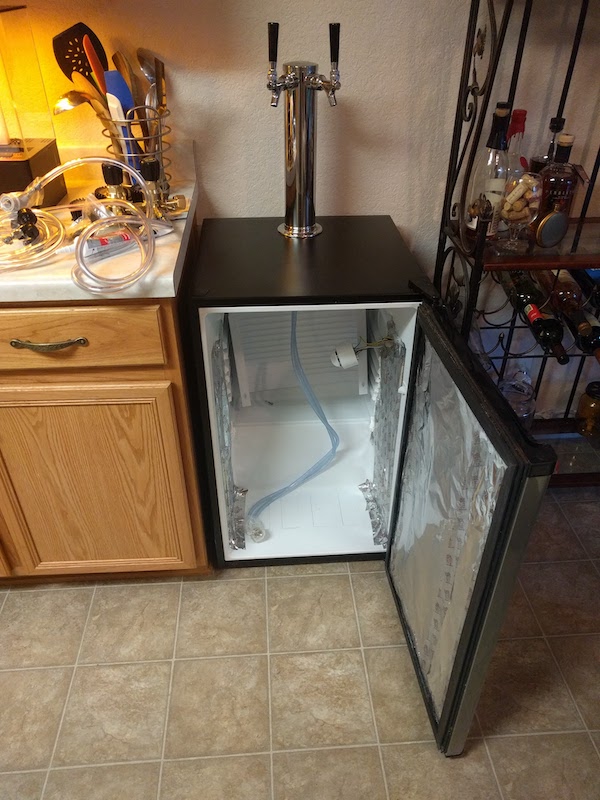
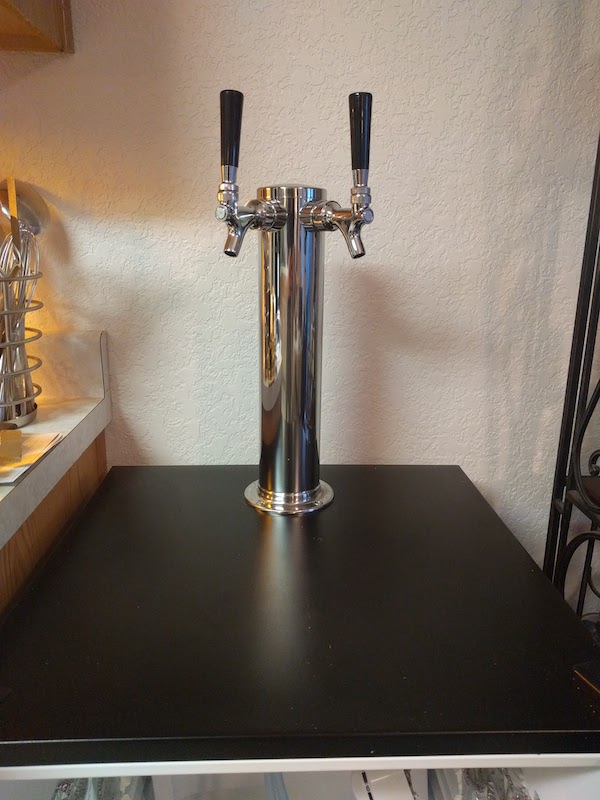
Now, some pics of the kegerator:

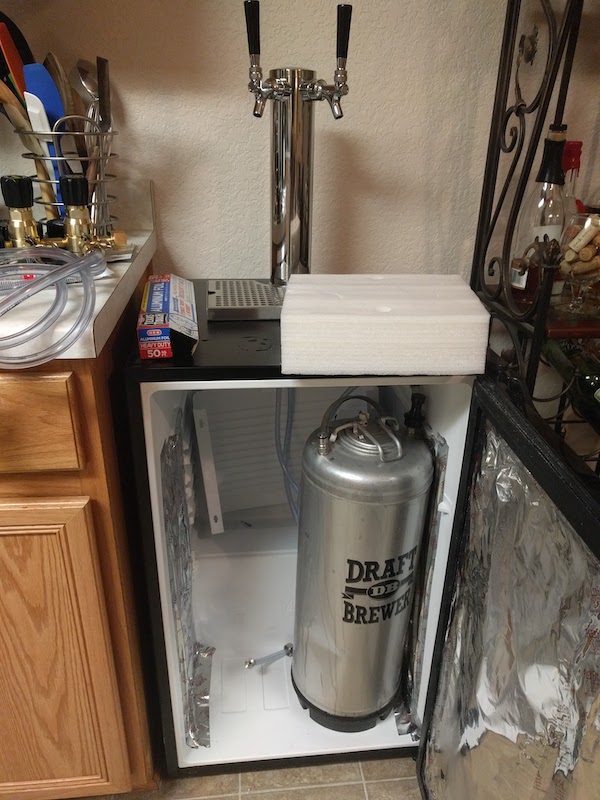
If you’ve got any questions, feel free to reach out and let me know!